Numbers on paper are one thing. Seeing a real modular kitchen setup in Chennai with actual photographs, itemised bills, and honest lessons learned — that's what truly helps homeowners plan. This is a genuine case study of a kitchen renovation carried out by Godrej Kitchen n Decor for a family in Velachery, Chennai, in December 2025. Total budget: under ₹2 lakhs. Here's exactly how it was done.
The Client & The Challenge
Family profile: A couple in their mid-30s with two children, residing in a 2BHK apartment in Velachery, Chennai. The kitchen was an outdated, poorly organised space with worn-out civil shelves, no proper storage, and a constantly smoke-stained wall near the cooking area. The family cooks three full Indian meals daily.
Key requirements identified during consultation:
- Maximise storage for Indian provisions — dal, rice, spices, oil in large quantities
- Replace the old civil counter with a proper modular setup
- Add a chimney — the kitchen had no chimney previously
- Maintain a strict budget of ₹2 lakhs including everything
- Complete within 12 working days (both spouses working professionals)
Step 1: Kitchen Measurement and Layout Selection
The kitchen measured 9.5 ft × 8 ft — a compact but workable size. An L-shaped layout was selected after analysing the door and window positions. The longer arm of the L (9.5 ft) would hold the hob, oven space, and base storage. The shorter arm (6 ft) would house the sink, dishwashing area, and a dedicated storage column.
💡 Design Decision: Why L-Shaped?
The U-shaped layout was considered but rejected as it would have created a corridor width of only 36 inches — below the recommended 42-inch minimum for comfortable movement during active Indian cooking. The L-shape maintained a generous open area while maximising storage.
Step 2: Material Selection on a Budget
This was where significant cost savings were achieved without compromising quality:
| Component | Premium Option Rejected | Choice Made | Saving |
|---|---|---|---|
| Cabinet carcass | 18mm BWR Plywood | 16mm MR Grade Plywood (dry areas) + 18mm BWR only at sink zone | ₹9,000 saved |
| Shutter finish | Acrylic ₹380/sqft | Premium Laminate (Merino) ₹95/sqft | ₹22,000 saved |
| Countertop | Quartz ₹420/sqft | Steel Grey Granite ₹110/sqft | ₹12,000 saved |
| Corner unit | Magic Corner ₹16,000 | Bifold corner with L-shelf ₹2,200 | ₹13,800 saved |
| Handles | Handle-less push-to-open | SS bar handles (concealed rail profile) | ₹4,500 saved |
Total savings from smart material choices: ₹61,300 — without any visible reduction in quality from the family's perspective.
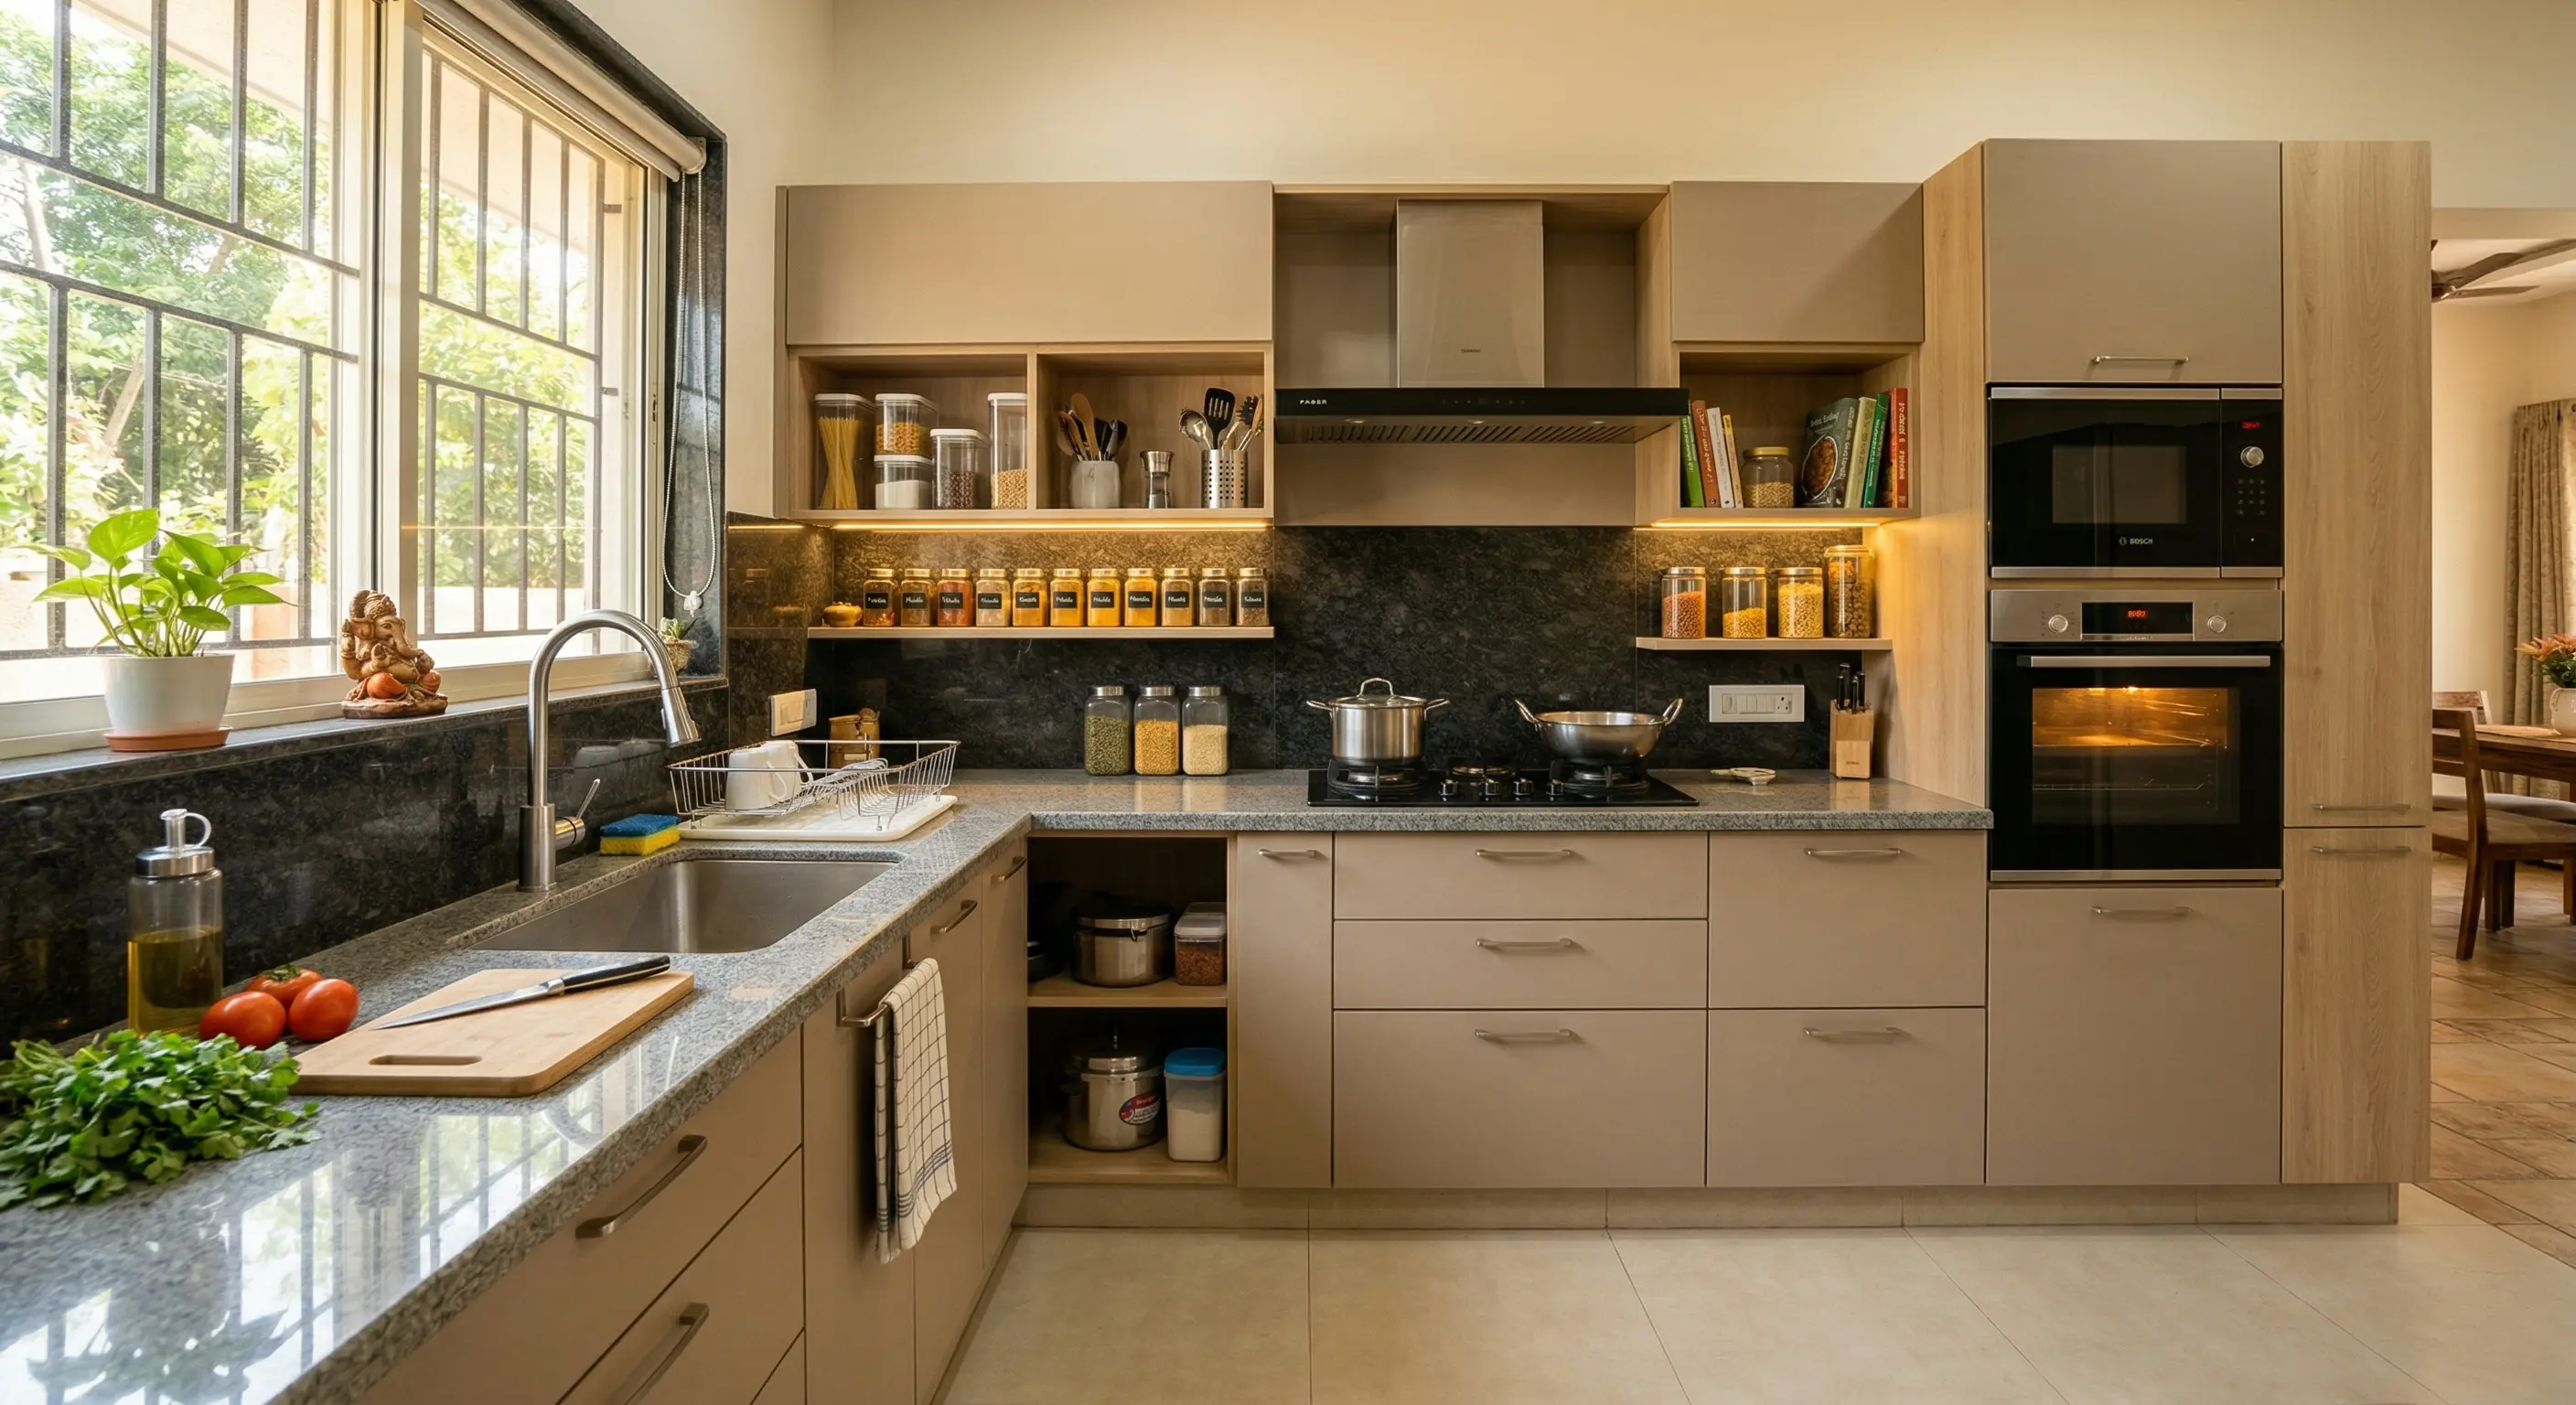
Step 3: The Final Design Plan
The approved design consisted of:
- Lower cabinets (base units): 8 base units, 2 with drawers (cutlery + utensil), remaining 6 with hinged doors and internal shelves
- Upper cabinets: 6 upper cabinets with concealed hinges, 2 open shelves replacing 2 upper cabinets to reduce cost and add visual lightness
- Full-height pantry column: 1 unit (8 ft tall) with 5 adjustable shelves for provisions and a space for the mixer-grinder
- Countertop: 35mm Steel Grey granite with a 4-inch splashback strip
- Backsplash: 4 sq ft of black hexagon mosaic tiles as a focal point behind the hob; standard white subway tiles for the rest
- Sink: Stainless steel under-mount double-bowl sink (provided by family)
- Chimney: 60cm filterless auto-clean chimney (1000 m³/hr), purchased separately at ₹8,500
Step 4: The Complete Cost Breakdown
| Item | Quantity/Details | Cost |
|---|---|---|
| Cabinet carcass material (MR + BWR plywood) | Mixed grade as planned | ₹28,500 |
| Cabinet shutters (Merino laminate, Matt finish, 2 colours) | White upper + Taupe lower | ₹26,800 |
| Steel Grey granite countertop (23 sqft) | Including fabrication | ₹11,200 |
| Hardware (hinges, channels, handles) | Standard quality SS | ₹9,400 |
| Wire baskets (2 units) | Cutlery + utensil pull-out | ₹4,200 |
| Backsplash tiles + grout + fixing | Hex mosaic + subway | ₹7,800 |
| Auto-clean chimney (60cm) | Filterless, 1000 m³/hr | ₹8,500 |
| Electrical point additions (2 new) | Counter-height points | ₹2,800 |
| Plumbing modification (drain relocation) | Drain outlet moved 8 inches | ₹2,200 |
| Carpenter labour (installation) | 9 working days, 2 carpenters | ₹14,000 |
| Transport, miscellaneous | Delivery + consumables | ₹3,600 |
| TOTAL | ₹1,19,000 |
✓ Result: Under ₹1.2 Lakhs — Well Within Budget
The final cost of ₹1,19,000 came in significantly below the ₹2 lakh budget, giving the family ₹81,000 remaining to invest in additional furniture, storage, and home improvements.
Step 5: Timeline and Installation Process
- Day 1–2: Demolition of old civil shelves, civil plastering, tile removal in backsplash zone
- Day 3–4: Fabrication of all carcass units in workshop (off-site)
- Day 5: Delivery and base unit installation, granite template measurement
- Day 6: Upper cabinet installation, pantry column fixing
- Day 7: Granite counter installation and sealing
- Day 8: Backsplash tile fixing
- Day 9: Hardware fitting (hinges, channels, handles, baskets), chimney installation
- Day 10: Electrical and plumbing work by sub-contractors
- Day 11: Final inspection, touch-ups, deep cleaning
- Day 12: Client handover with usage instructions and warranty documentation
What the Family Said: 3 Months Later
Three months after installation, our team followed up with the homeowner. Key feedback:
- ✅ Storage: "We can finally store everything. The pantry column alone has transformed how we organise provisions."
- ✅ Cooking experience: "The chimney makes a world of difference. The kitchen stays clean and smoke-free even during deep frying."
- ✅ Durability: "No issues with the laminates — they clean up perfectly with a damp cloth after heavy cooking sessions."
- ✅ Value: "We genuinely cannot believe what we got for under ₹1.2 lakhs. Friends who spent ₹3–4 lakhs on their kitchens are surprised it looks this good."
Lessons and Takeaways for Future Kitchen Projects
- Smart material substitution (laminate over acrylic, local granite over quartz) provides 80% of the premium look at 30% of the premium cost.
- A full-height pantry unit is the single highest-value addition to any Indian kitchen — prioritise this over additional base units.
- Get civil work (plastering, tile removal, plumbing) done before cabinet fabrication begins to avoid delays and re-measurements.
- The corner bifold solution saved ₹13,800 and the family reports they have never noticed the difference from a magic corner.
- Always build in 15–20% of budget contingency. This project used none of it — but that savings gave the family peace of mind during the process.